Water kefir is my favorite way to get probiotics, I drink it everyday! And it happens to be easy, and inexpensive to make yourself. Considering most 16 oz bottles of kefir or kombucha cost around $3.50 per bottle, it can easily become an expensive beverage to drink regularly. I can make at least a gallon for $3.50! If you have little ones at home, making kefir is a easy, and fun way to have them help you in the kitchen. Here’s the pictures and instructions of how I make water kefir. The first step is to buy kefir grains, or find someone in your area who can share extra grains with you. Dehydrated kefir grains can be purchase online at Cultures for Health. If there is a homesteading type store in your area, they may also have them. Once you get your dehydrated grains, follow the instructions on rehydrate ing them. In a few days, you’ll be ready to make your own kefir! Just to show you how easy it is, here’s a picture the few things you’ll need to make it. Now that I’m looking at this picture, I left out the funnel….Whoops! And the electric tea kettle is not a necessity, but since I have one, I use it to boil water quickly!

Just a few things needed to make kefir!
When making water kefir, it’s best to use unrefined, unbleached sugar, or a mix of refined and unrefined. Refined aka “white sugar” lacks minerals that are found in unrefined sugar, and minerals help feed the grains. Also, the type of water you use is important. Filtered, distilled and reverse osmosis water aren’t recommend because all are low in minerals. Municipal tap water is an option, if it doesn’t have too much chlorine. Letting the water sit out overnight with no lid allows the chlorine to evaporate. If filtered is your only option, you may need to add 1/8 tsp of sea salt to increase the mineral content. I recommend just starting with sugar and if you find your grains aren’t multiplying, try adding the salt. Since I’ve been making kefir for awhile, my first step is to separate the grains from the water. Here’s my grains in the water they’ve been fermenting in for 48 hours. It’s ready to be infused with fruit, and the grains will be used to start a new batch. By the way, the water isn’t dirty, the brownish color is from the sugar that’s dissolved. My container is a 32 ounce juice bottle, and I now use it for the first ferment. It’s the perfect size, since you need about one quart of water to make a batch.  Next, I separate the grains and water, so I need another other bottle and a funnel. This bottle has a wider mouth because I like to infuse my kefir with frozen fruit, the wider opening makes adding the fruit easier. So far, berries are my favorite for infusing. It’s important to use plastic or wooden utensils when working with the grains, metal can damage them.
 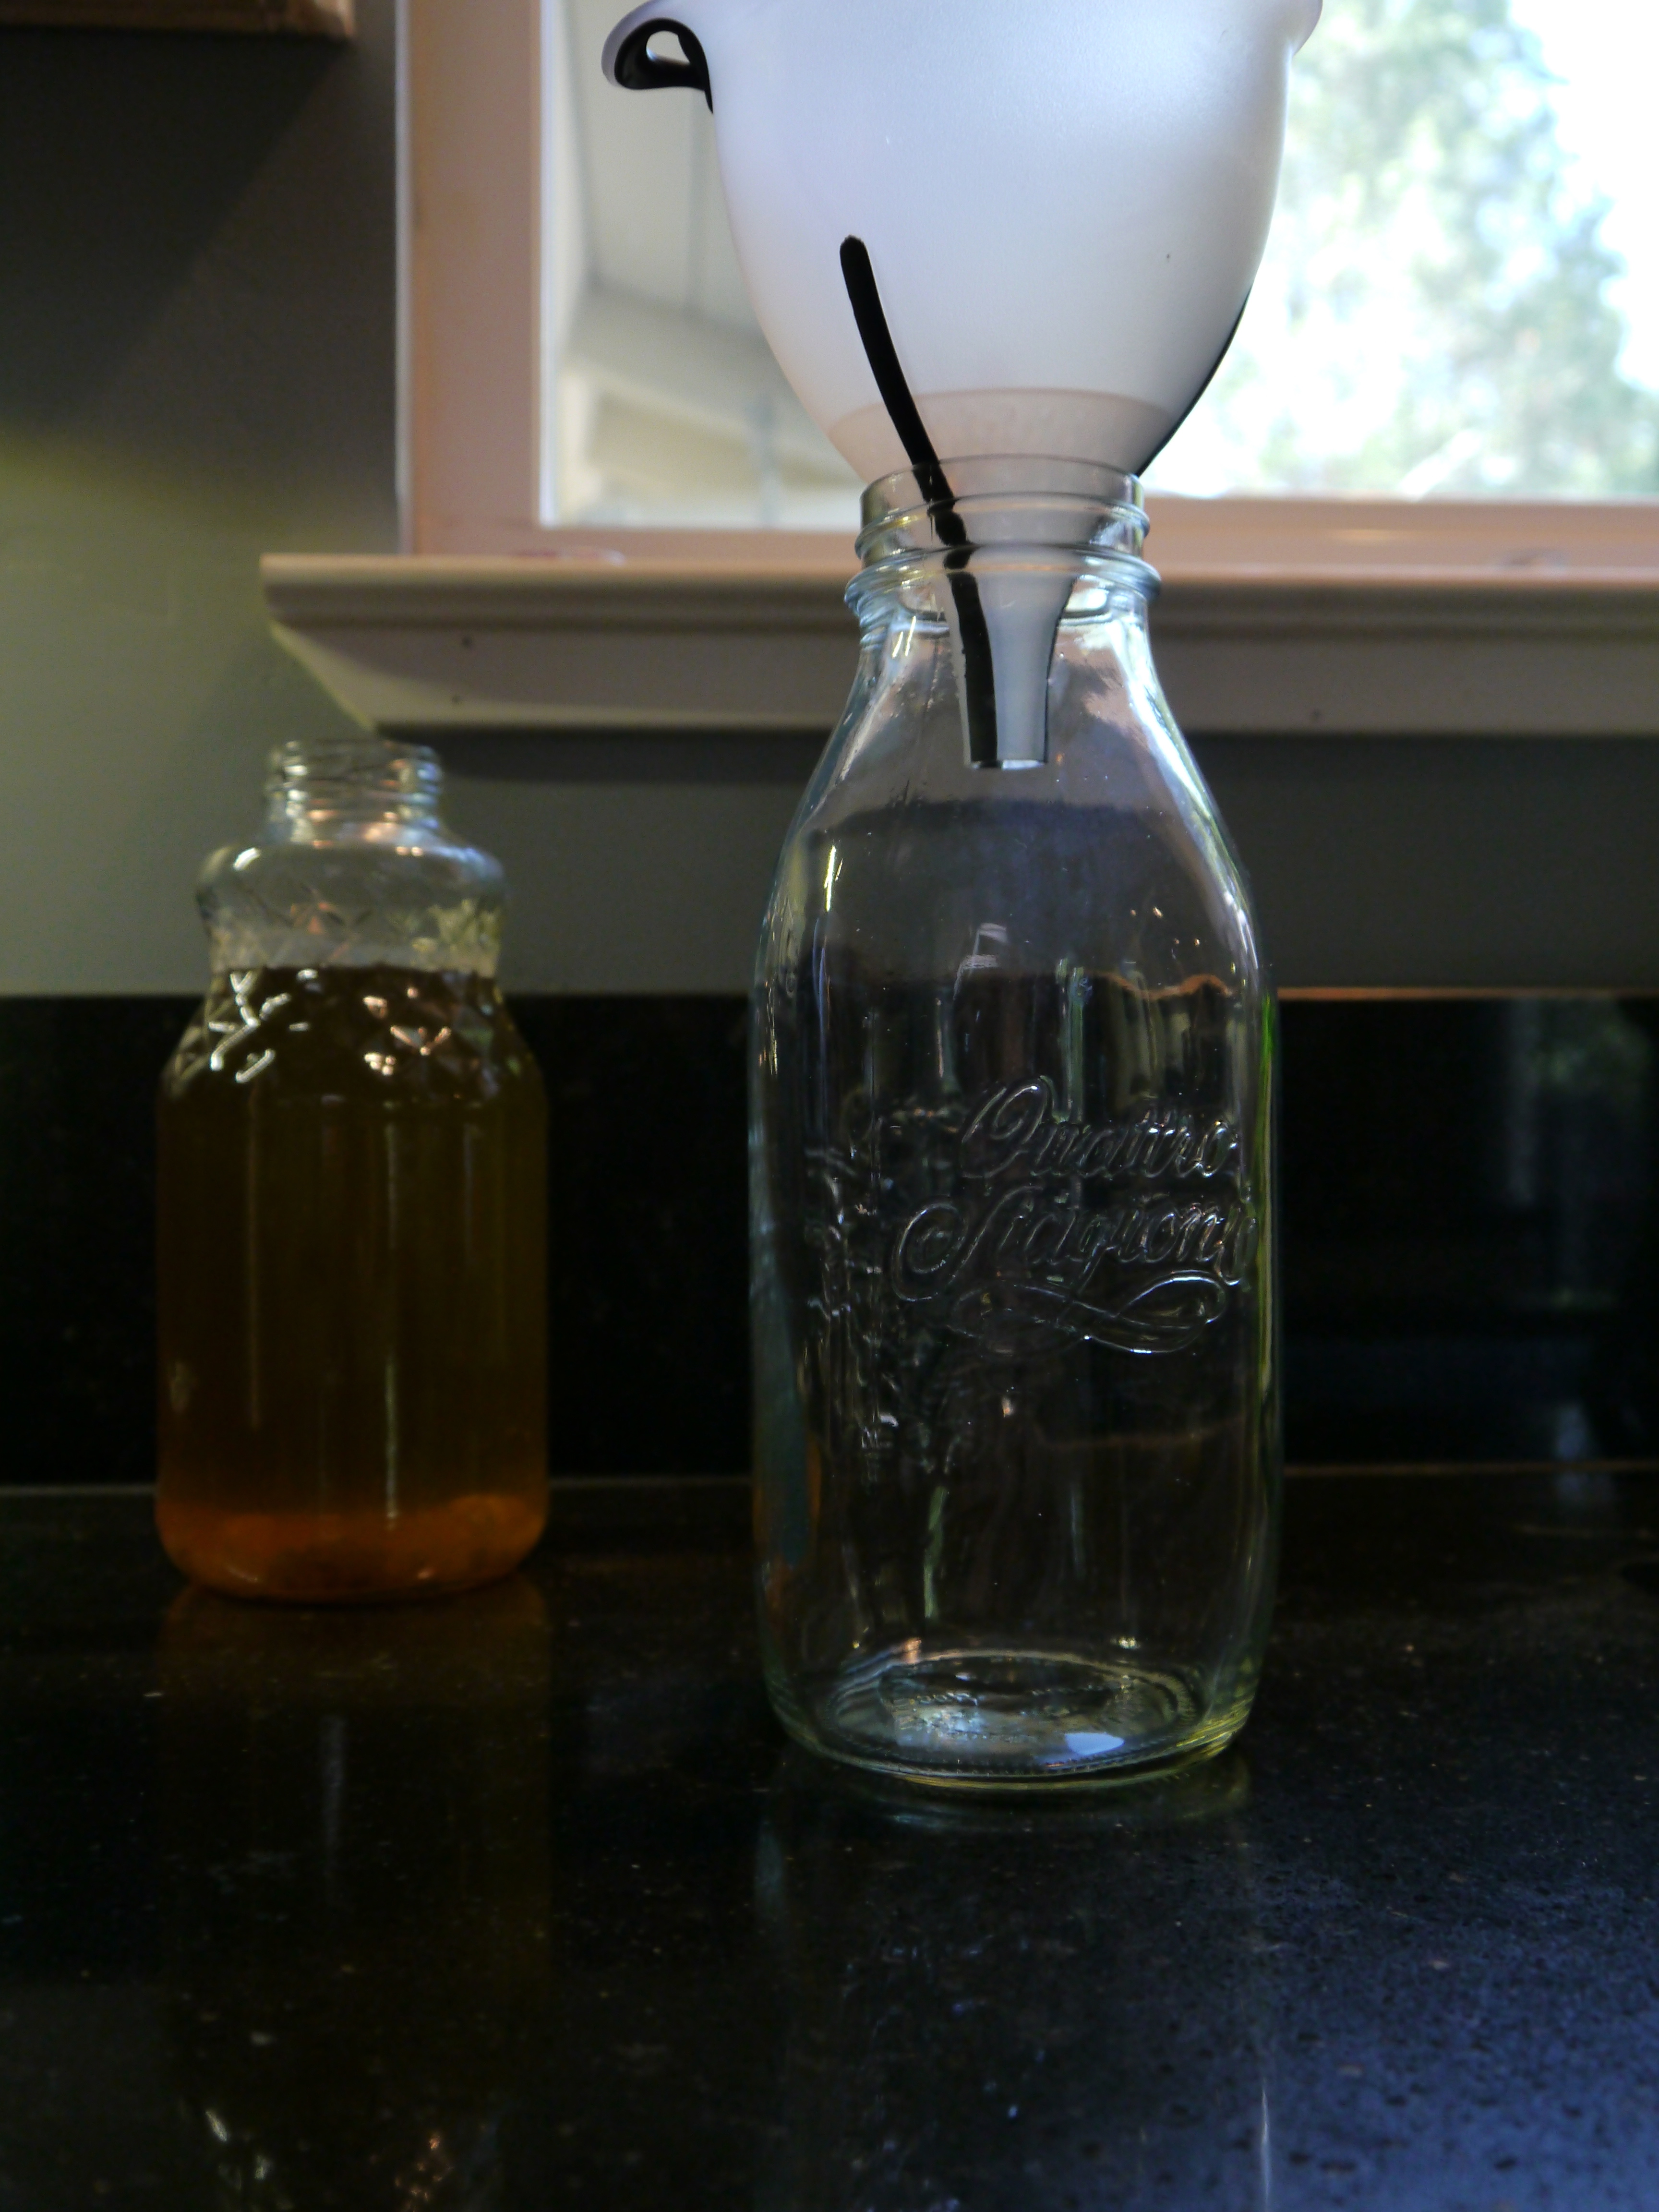 Now I pour the water from the first ferment into the bottle that will be use for the second ferment or “infusion” as I like to call it. Here you can see what the grains look like outside of the water. The brownish color is due to the sugar I’ve been using. If you use a lighter color sugar, your grains will be lighter. It’s perfectly fine they are brownish, as they grow they’ll usually become clearer. I have about 2 tablespoons of grains, which is the perfect amount to ferment one quart of water.

Kefir grains
At this point, the water kefir is ready to drink. Tt will have a mild, sweet taste, kind of like sugar water, a bit to sweet for me! I like to infuse the fermented water another day the it gets fizzy like pop, and is not as sweet. I use 1/3 – 1/2 cup of fruit for infusing, the amount depends on how strong a flavor I want. You can use any type of fresh, frozen or dried fruit for infusing, I’ve even used fresh ginger to make a “ginger ale” kefir. Whole spices, like vanilla or cinnamon or herbs, like mint can be used alone, or in addition to the fruit. It’s easy to experiment with different flavor combinations. Here’s the water kefir before adding the fruit.

Ready to infuse
The infusion ferment is done without airflow. I put the cap on, and let it ferment for 24 – 36 hours, depending on how fizzy I want it to be. During the fermentation process make sure to keep it warm, between 70 – 80 degrees is good. If it’s cool in your house, the perfect spot to keep it is in your oven, with the light on. If you notice, I’ve left some space in my bottle, to be sure it doesn’t overflow during this infusion process. Here’s my bottle with the fruit infusing.

Infusing has begun
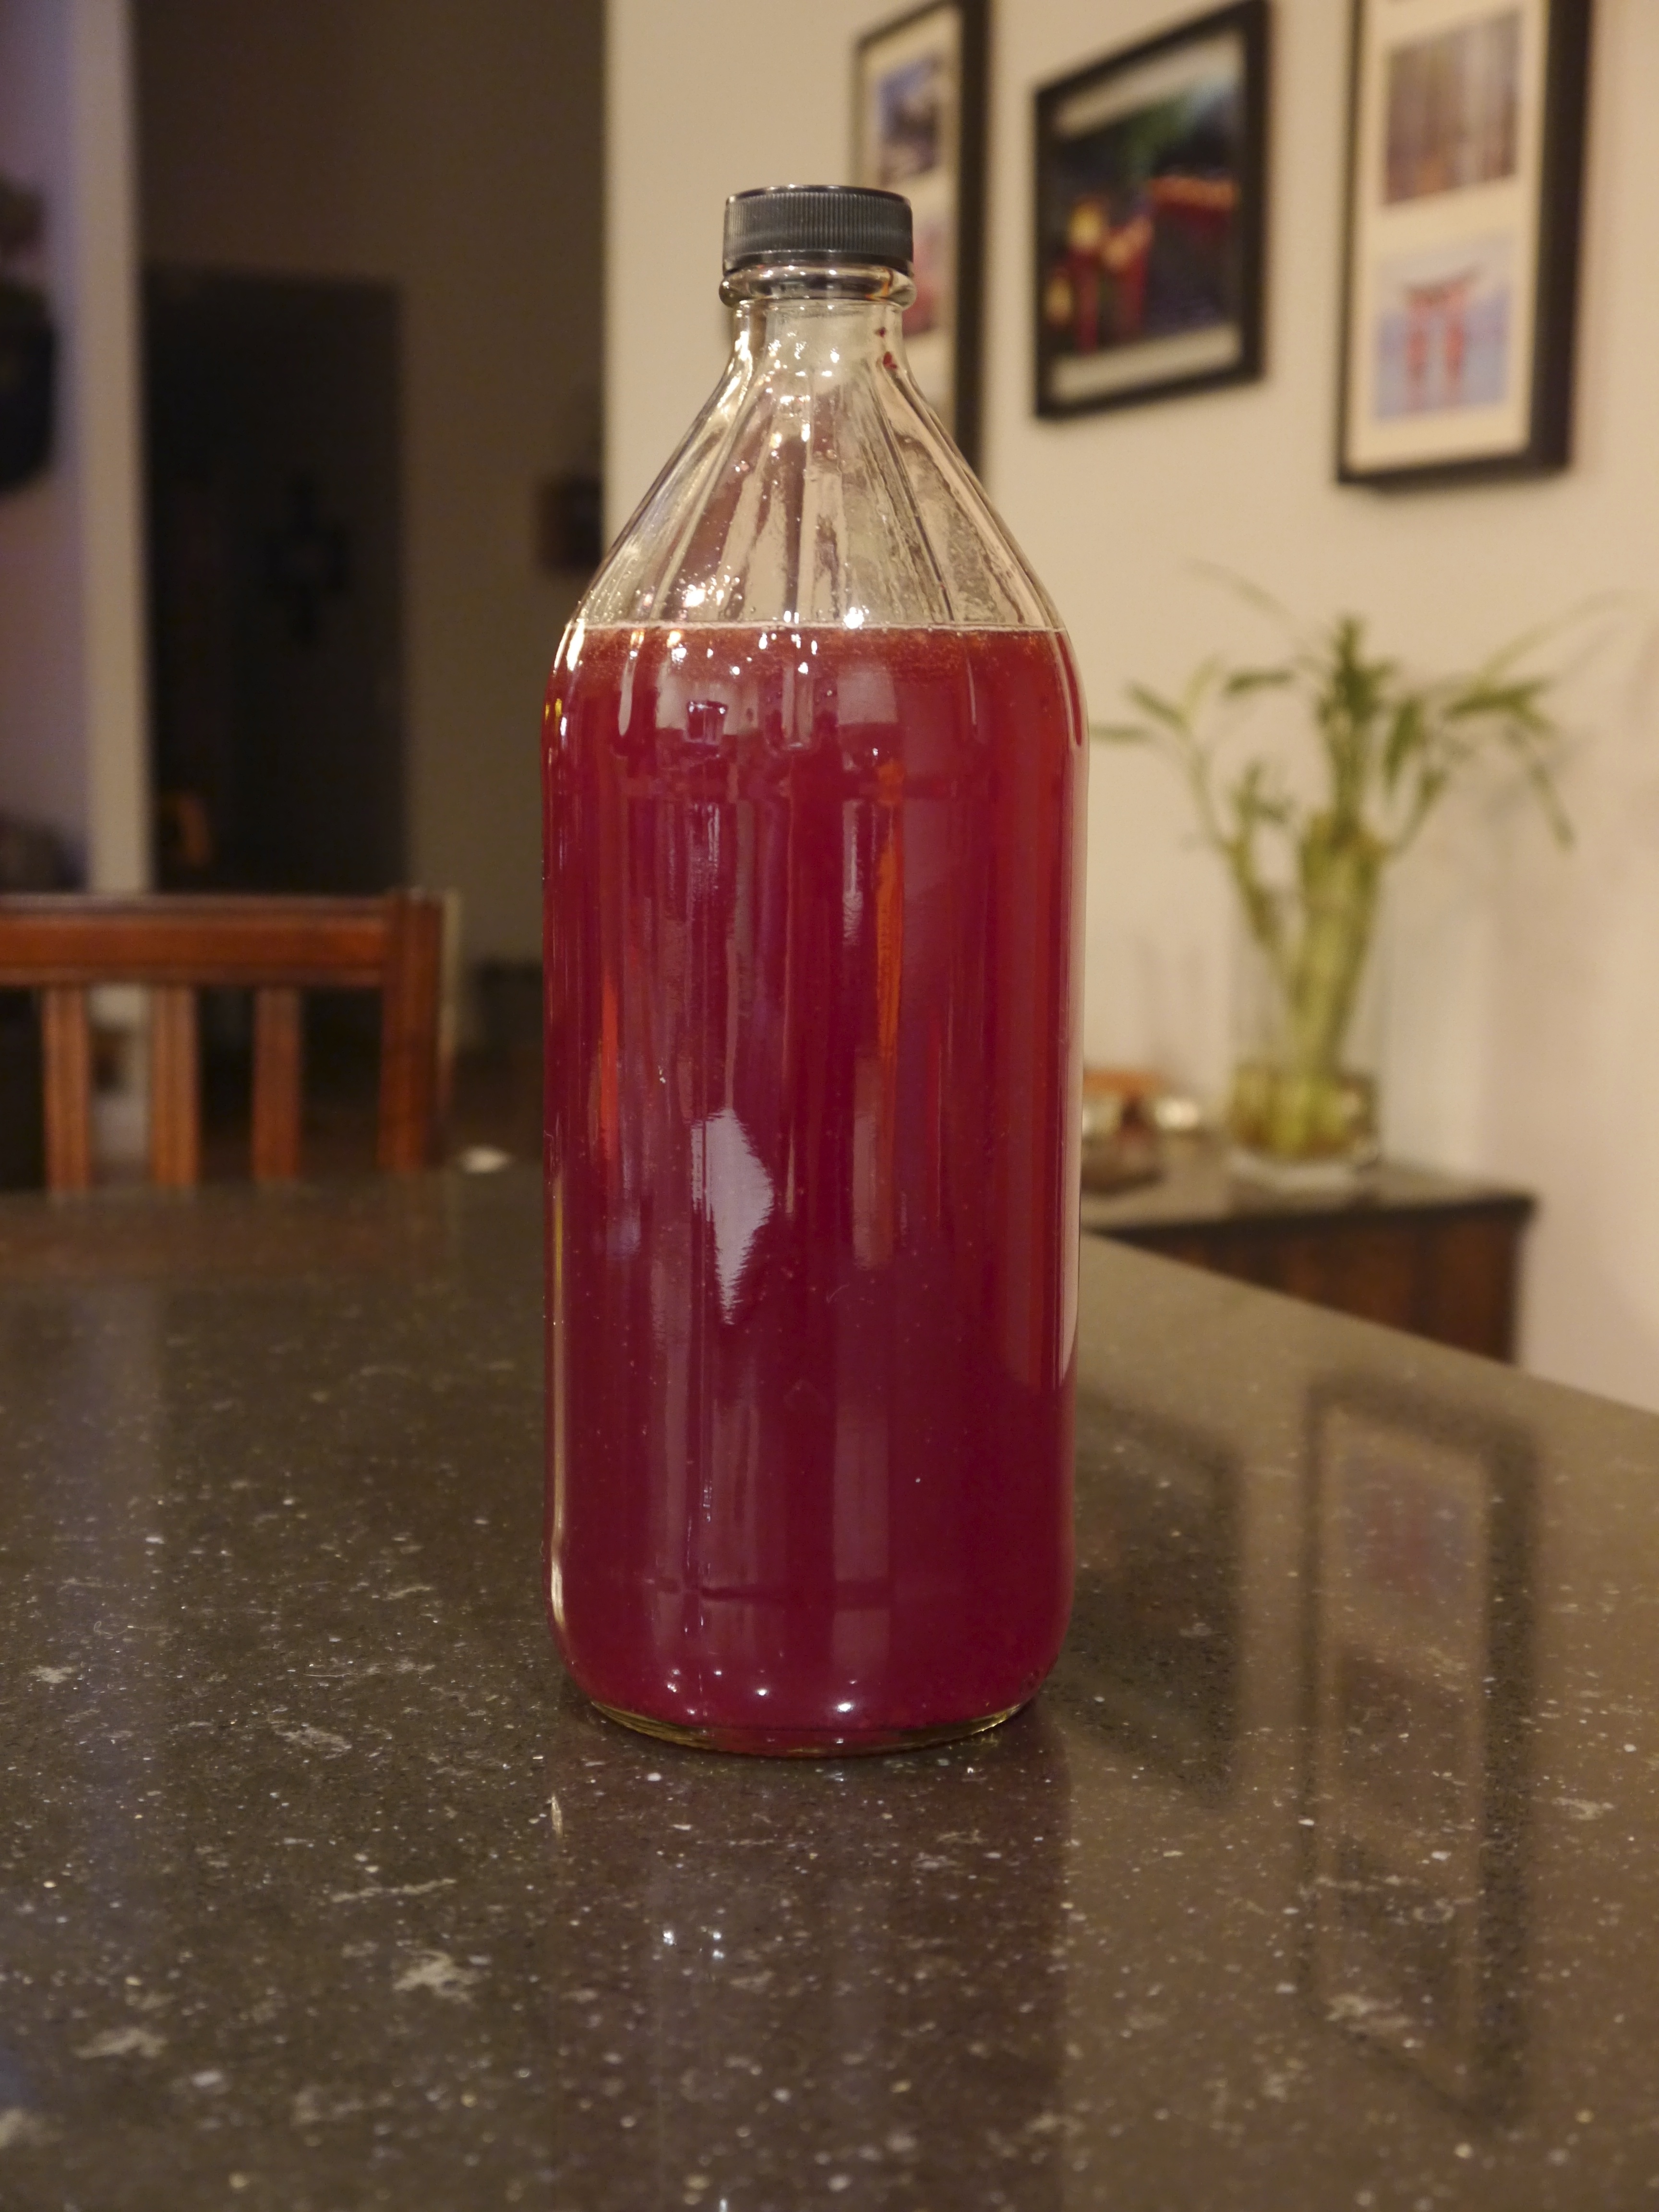
In 24 – 36 hours, the yummy, infused water kefir will be ready to drink! Here’s what it looks like after 36 hours. Look at the bubbling fizz at the top! The water has absorbed the color of the fruit, isn’t it pretty?

Infusing complete!
The last step of the infusion process is to remove the fruit from the water. You’ll need another bottle for the finished product. Put a funnel on top of the bottle, pour in the fruit infused water, and it’s ready to drink! It’s best to keep it in the refrigerator, because it will still continue to ferment. Keeping it cold slows down the fermenting process, and keeps it from overflowing or turning mildly alcoholic. Here’s the finished product.
Ready to drink!
Now I need to get a another batch going by starting the first ferment process again. My husband and I drink quart of kefir almost everyday, so I always have a batch fermenting. The first ferment only uses sugar and water. I heat up about 1/4 cup of water in my tea kettle, and then add 1/4 cup of sugar. I shake it gently to help most of the sugar dissolve. At this point, the kefir grains haven’t been added yet, because hot water is harmful to them. Here’s a picture of the hot water, and sugar mixture in the bottle  It’s almost time to add the kefir grains, but first I add about 3 3/4 cups cool water to the hot. It’s not necessary to measure the exact amount of water, roughly a quart of water is perfect. Once the cool water is added, and the water is near room temperature, the kefir grains can be added. I use a small spoon to add them, if my funnel had a pour spout I’d just use the funnel.

Adding the grains to start the first ferment.
And now for the last step of the first ferment! During the first ferment it needs some airflow. The easiest way to accomplish that is to cover the top with a paper towel, and secure it with a rubber band. The amount of time for the first ferment should be at least 24 hours and no longer than 72 hours. I like my first ferment to be 48 hours, I think it gives the kefir the perfect taste. Here’s the first ferment, all ready to go. Look’s the same as when I started, huh?
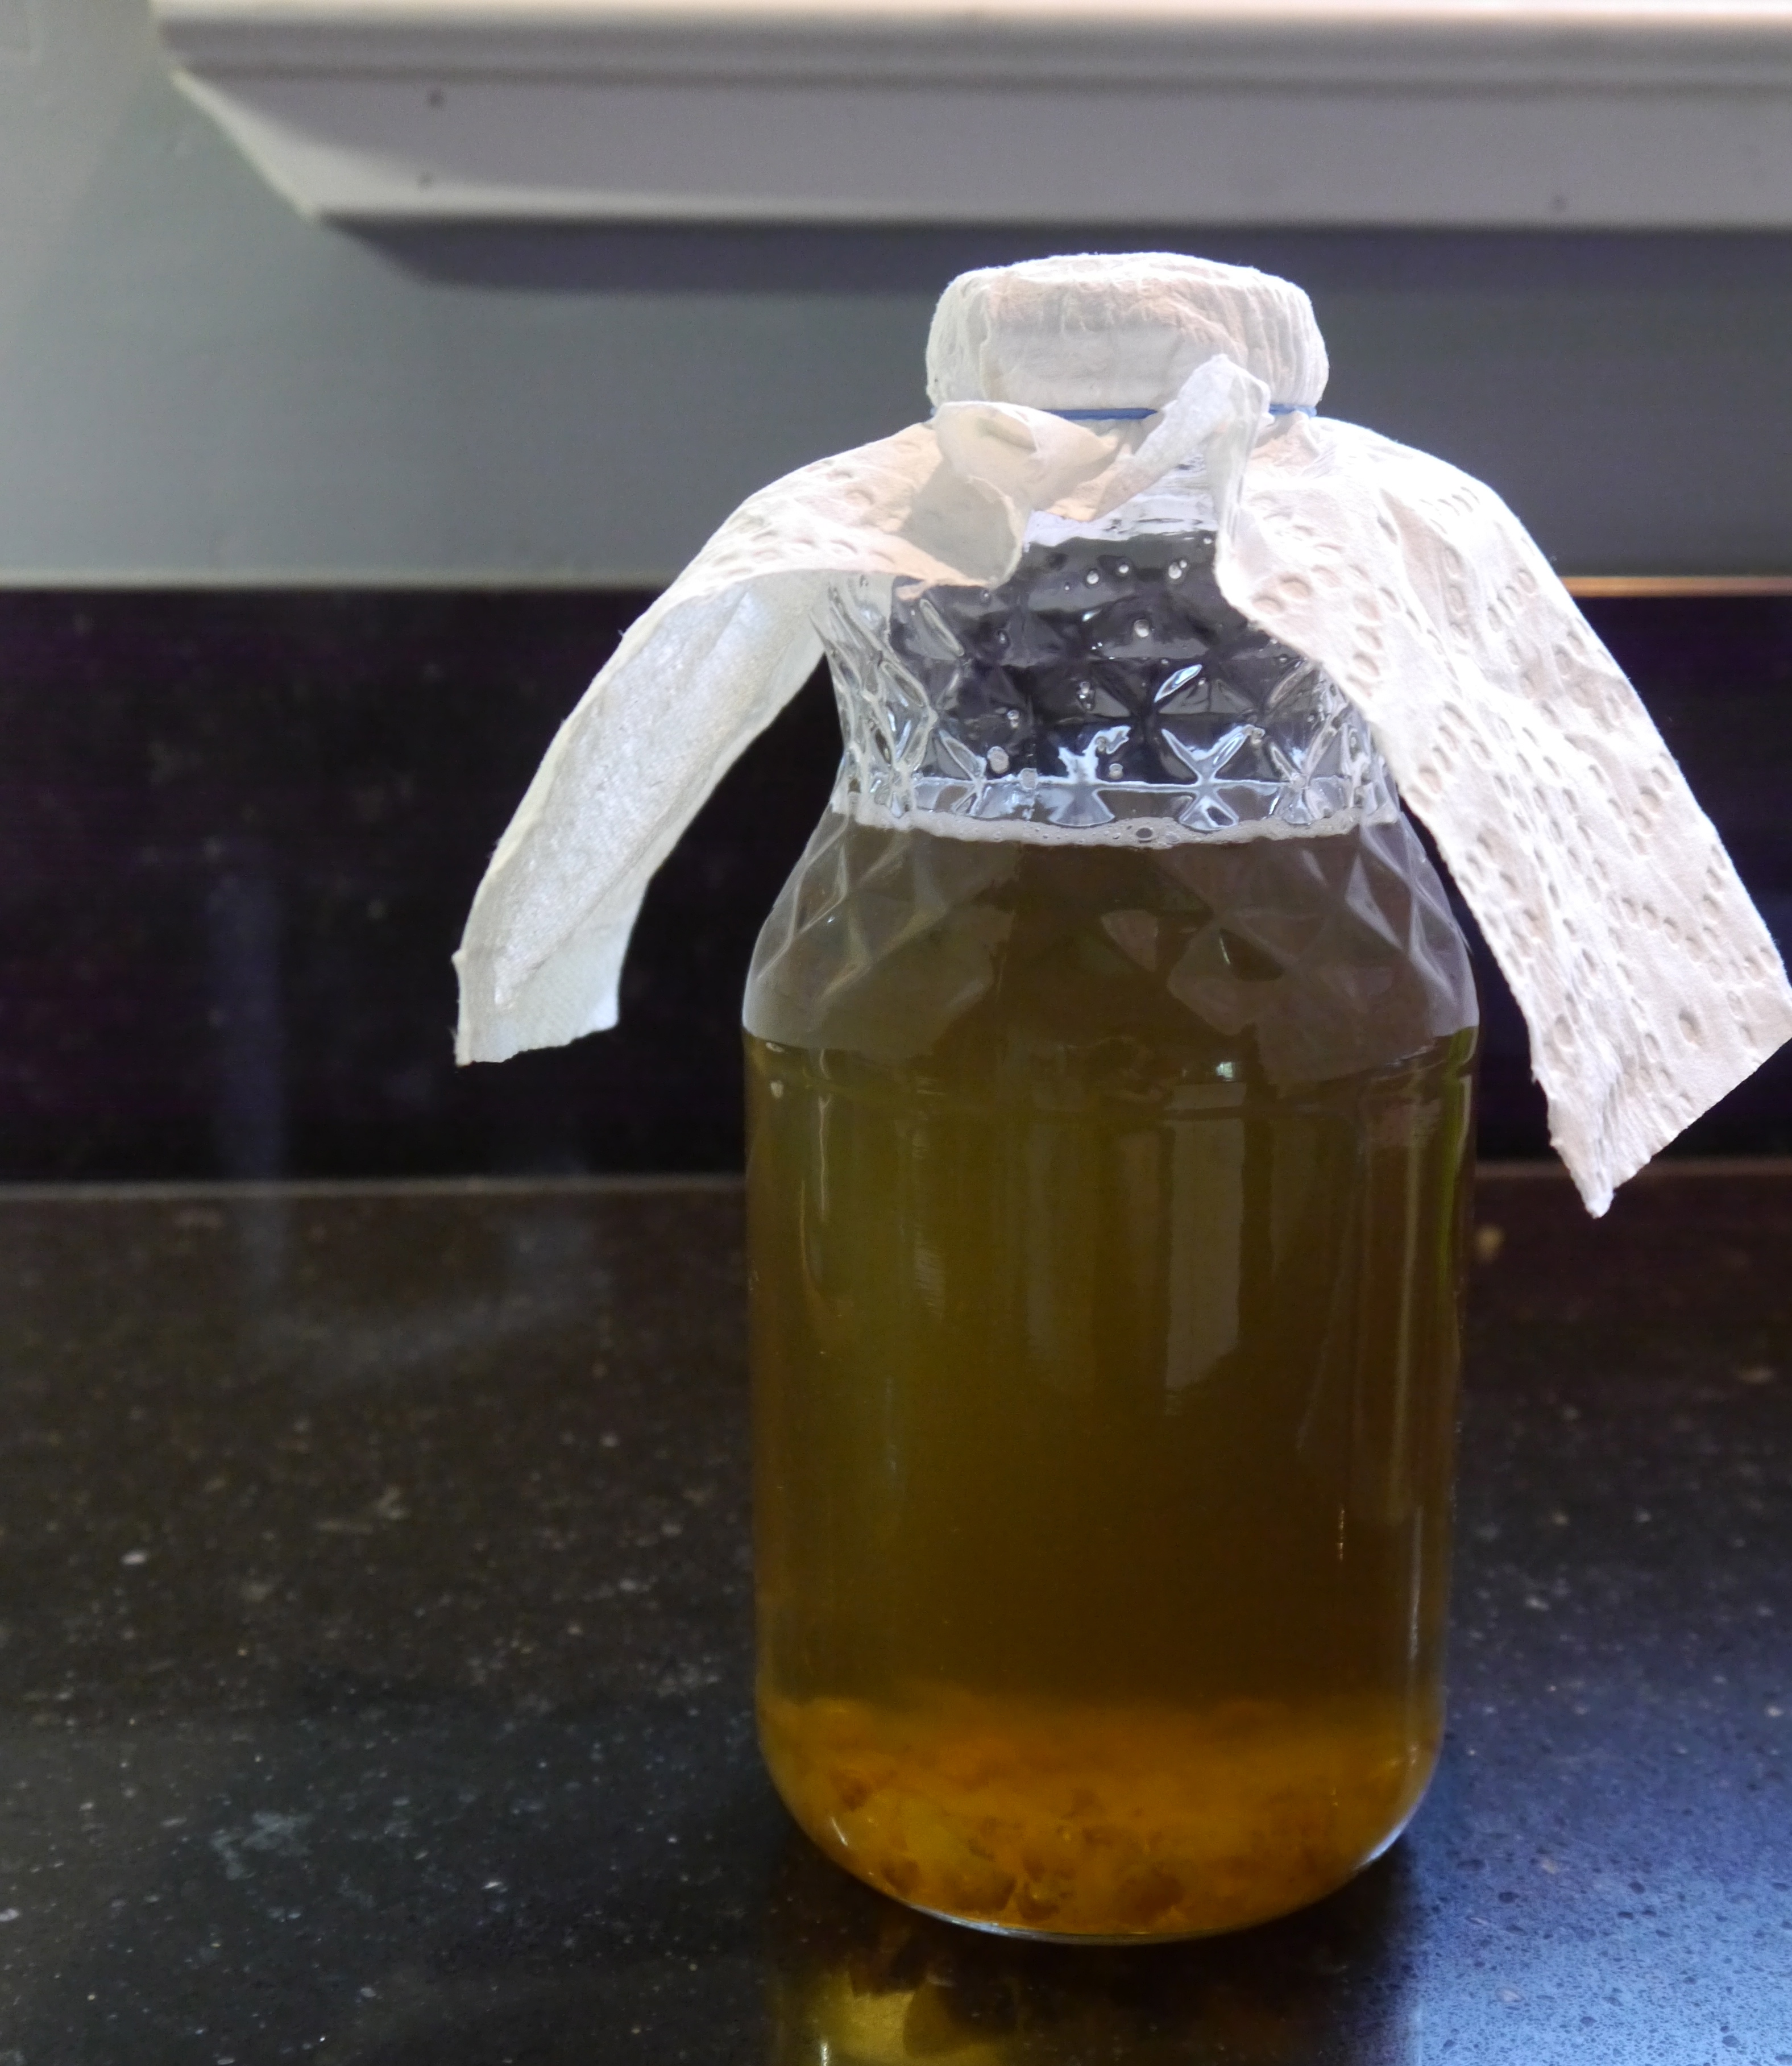
First ferment has started
And here’s both the first ferment, and infusion in the oven, staying warm!
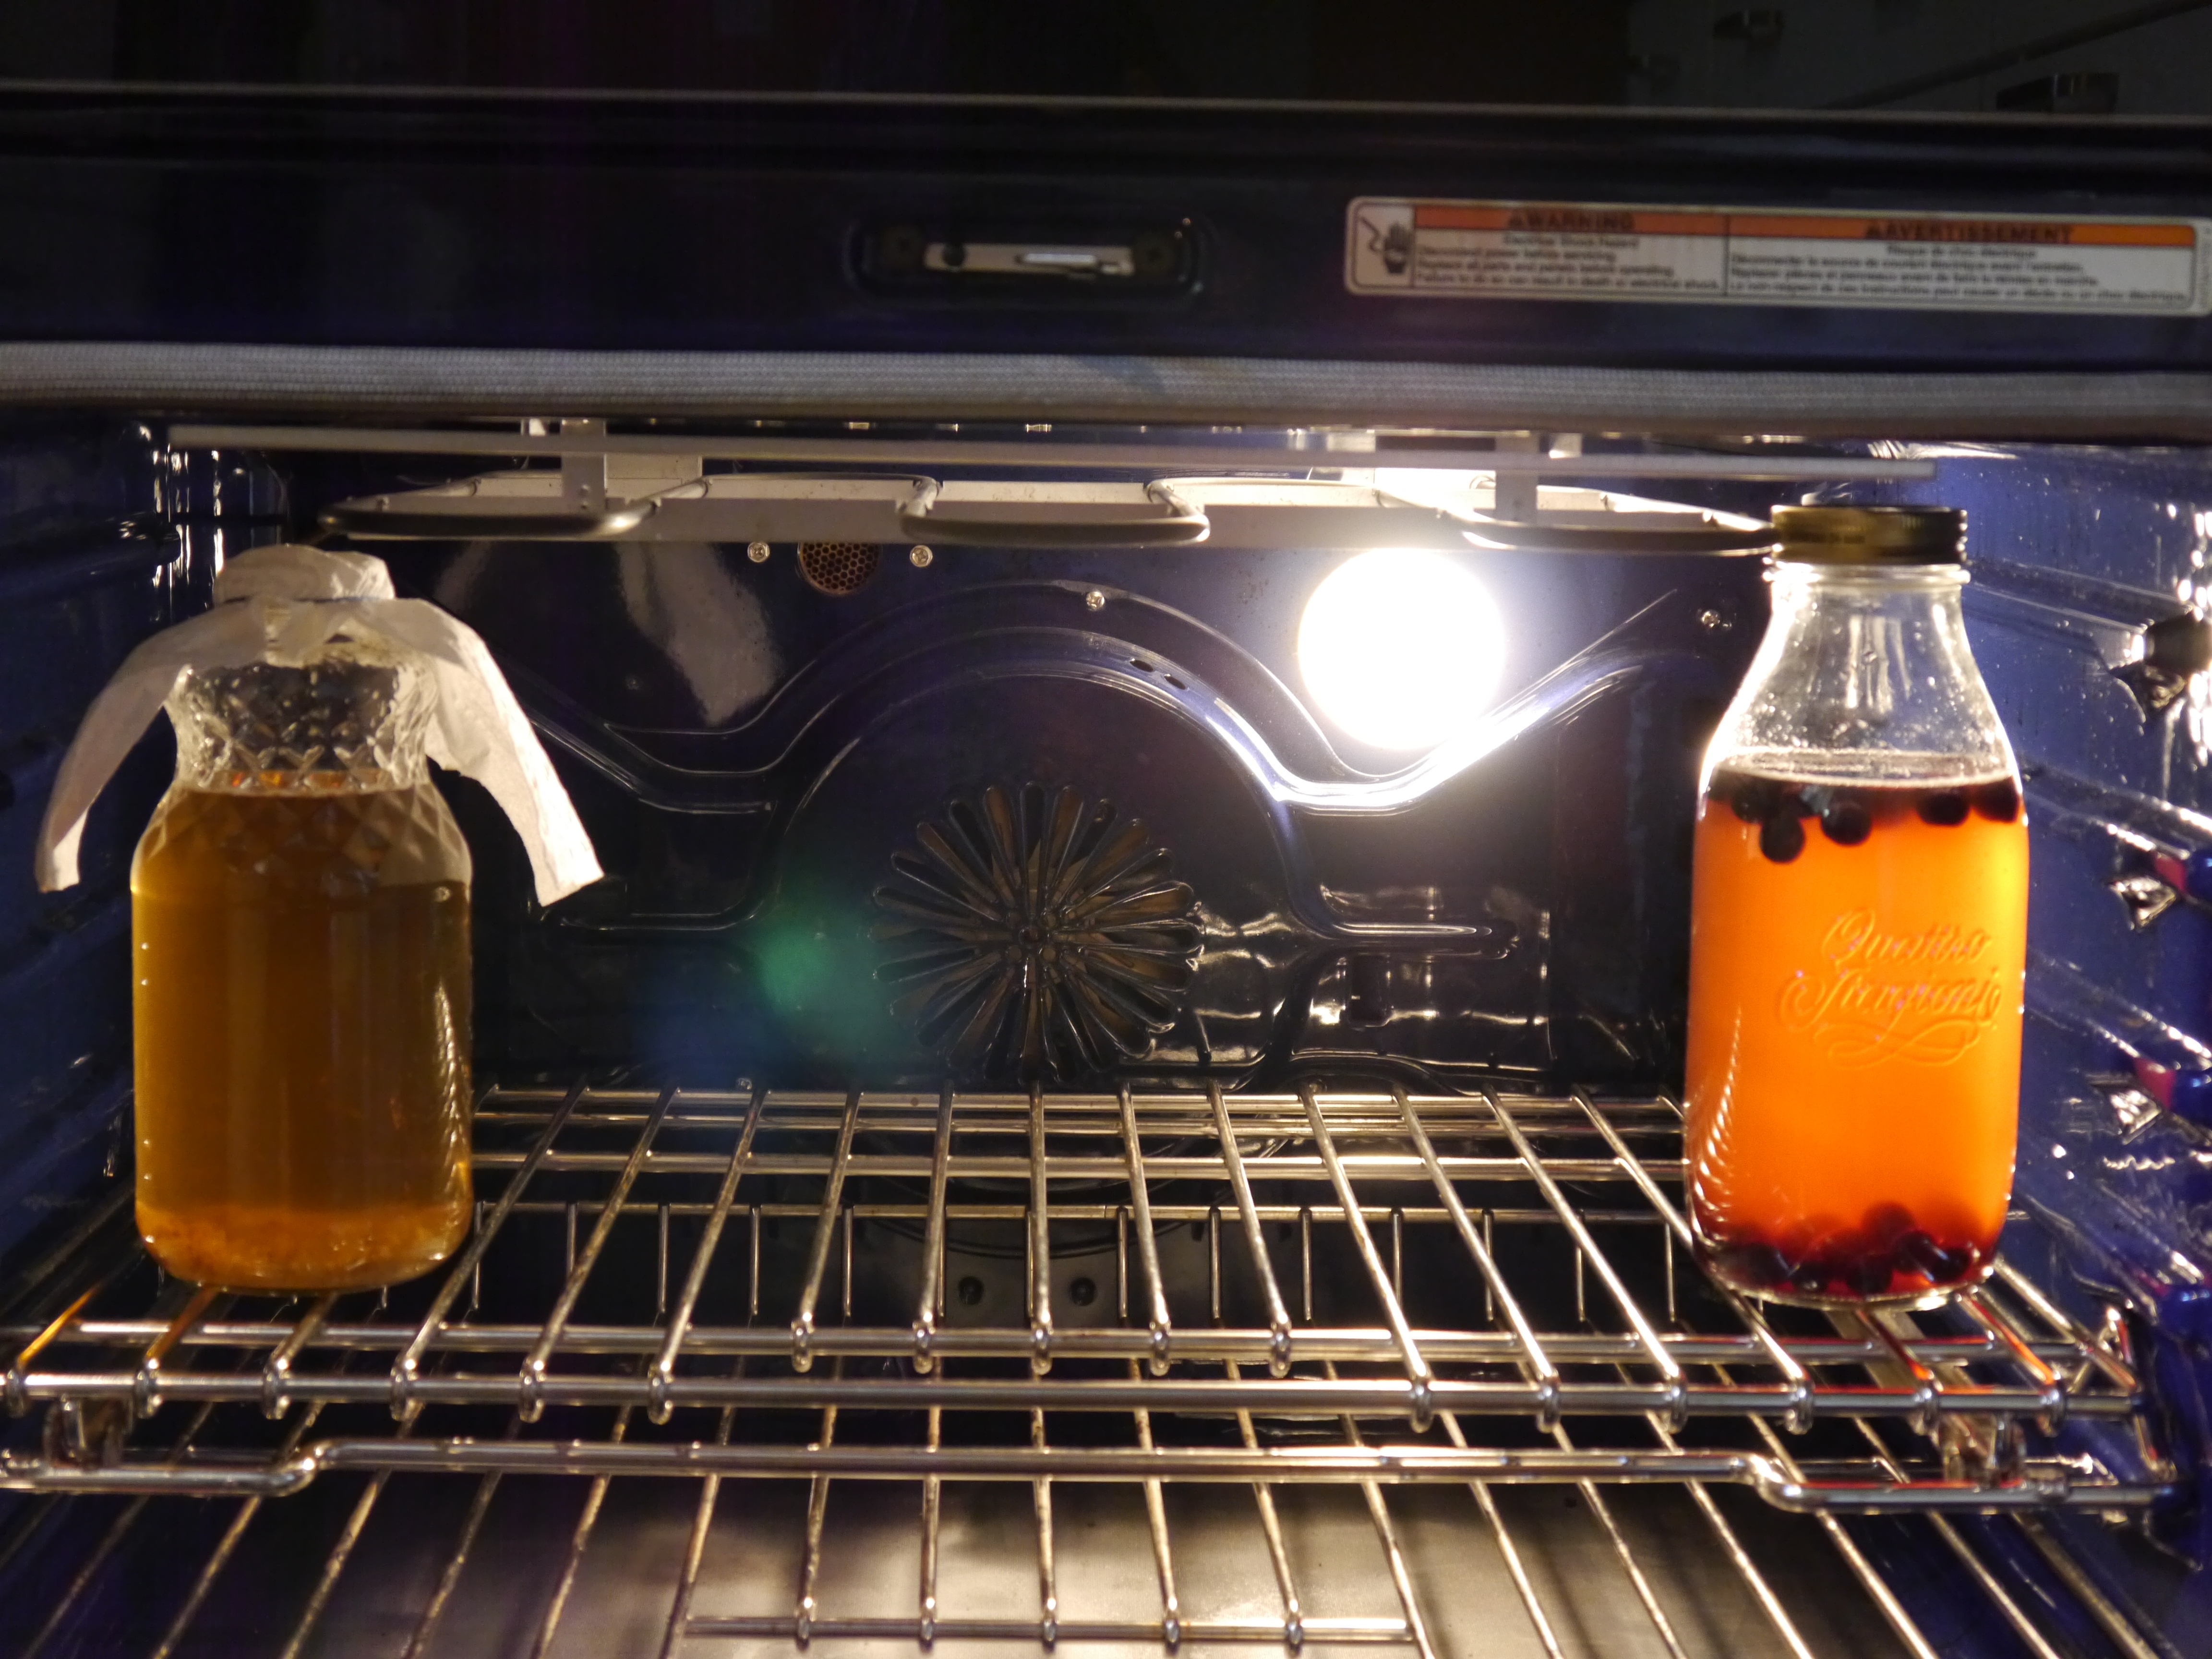
Yum! Water kefir!
That was super easy, right? The entire process takes about 10 minutes to complete. Definitly worth the time for the money I save!
Are you ready to make your own water kefir? Let me know how it goes!

May 28, 2014 at 3:05 am
How neat! What are the health benefits of kefir?
May 29, 2014 at 2:56 pm
Hi Janelle,
Water kefir, and other types of fermented food and beverages, contain millions of probiotics. It can help maintain healthy gut flora. And it’s way better for you that juice or soda!