Plum preserves are one of my favorites! My plum harvest was much smaller this year. I’m sure the major pruning we last winter and the drought contributed to the smaller harvest. Thankfully, the fruit is still sweet and juicy like last year, and I still had enough to make preserves!
The first time I made plum preserves I was shocked how much time I spent constantly stirring the boiling plums. I made the mistake of cooking to many plums at one time, and the bottom half-inch burnt so much it took days to scrub the pot. I had hope there was an easier way, because that experience almost kept me from trying again!
Enter the handy kitchen gadget know as the Ball FreshTECH Jam Maker. It made the entire process so much easier! In my opinion, it’s well worth price for all the preserves I’ll be making over the years! After two years of practice, I perfected my favorite plum preserve recipe, and avoided the “burn” using the jam maker! This recipe can also be made without the jam maker, just be sure you can devote an hour to stir boiling plums on your stove top 🙂
My recipe doesn’t use much sugar because I love the “tart” taste of plums, but don’t worry it still tastes sweet! I also don’t use pectin, because I like the thicker, “preserve” consistency. I’ve included the amount of pectin to use if you prefer a more “jelly” like consistency. According to the Ball Complete Book of Home Preserving.
“preserves offer chunks of fruit suspend in a soft jelly and make delicious spreads for breads, but they are even better spooned over frozen desserts or cakes.”
Doesn’t that sound yummy? Plums do not need to be peeled before preserving, and that’s why I think they are one of the easiest fruits to preserve!
Ingredients
Yields 24-32 ounces of preserves
- 4 cups of chopped plums, usually 20-25 medium size plums of your choice, yields about 4 cups. My tree is a ‘Santa Rosa’ Japanese plum so that’s what I use.
- 1 tsp butter
- 1 1/2 cup of sugar
- 3 1/2 TBS of pectin (optional)
Prep Instructions

- Chopped, and ready to crush


- Crushed, and ready to add to the jam maker

Jam Maker Instructions
If using pectin, sprinkle it evenly over the bottom of the pot. Transfer crushed plums into a pot, and add 1 tsp of butter. The butter helps reduce foaming. Press the jam button and increase the cook time to 30 minutes. After 4 minutes, slowly add the sugar while the jam maker continues to stir the plums, after the sugar has been added, put the lid on the jam maker. After 30 minutes, the jam maker will stop cooking and need to cool off. This is the one drawback of the jam maker, but for me it’s worth the wait to avoid manually stirring the jam!
This recipe takes 60 minutes to reach gel stage, so I removed the bowl from the base, and allowed the jam maker time to cool. Once it cooled, I cooked the mixture for another 30 minutes. I recommend still testing for gel stage just to be sure the preserves are ready to be canned.
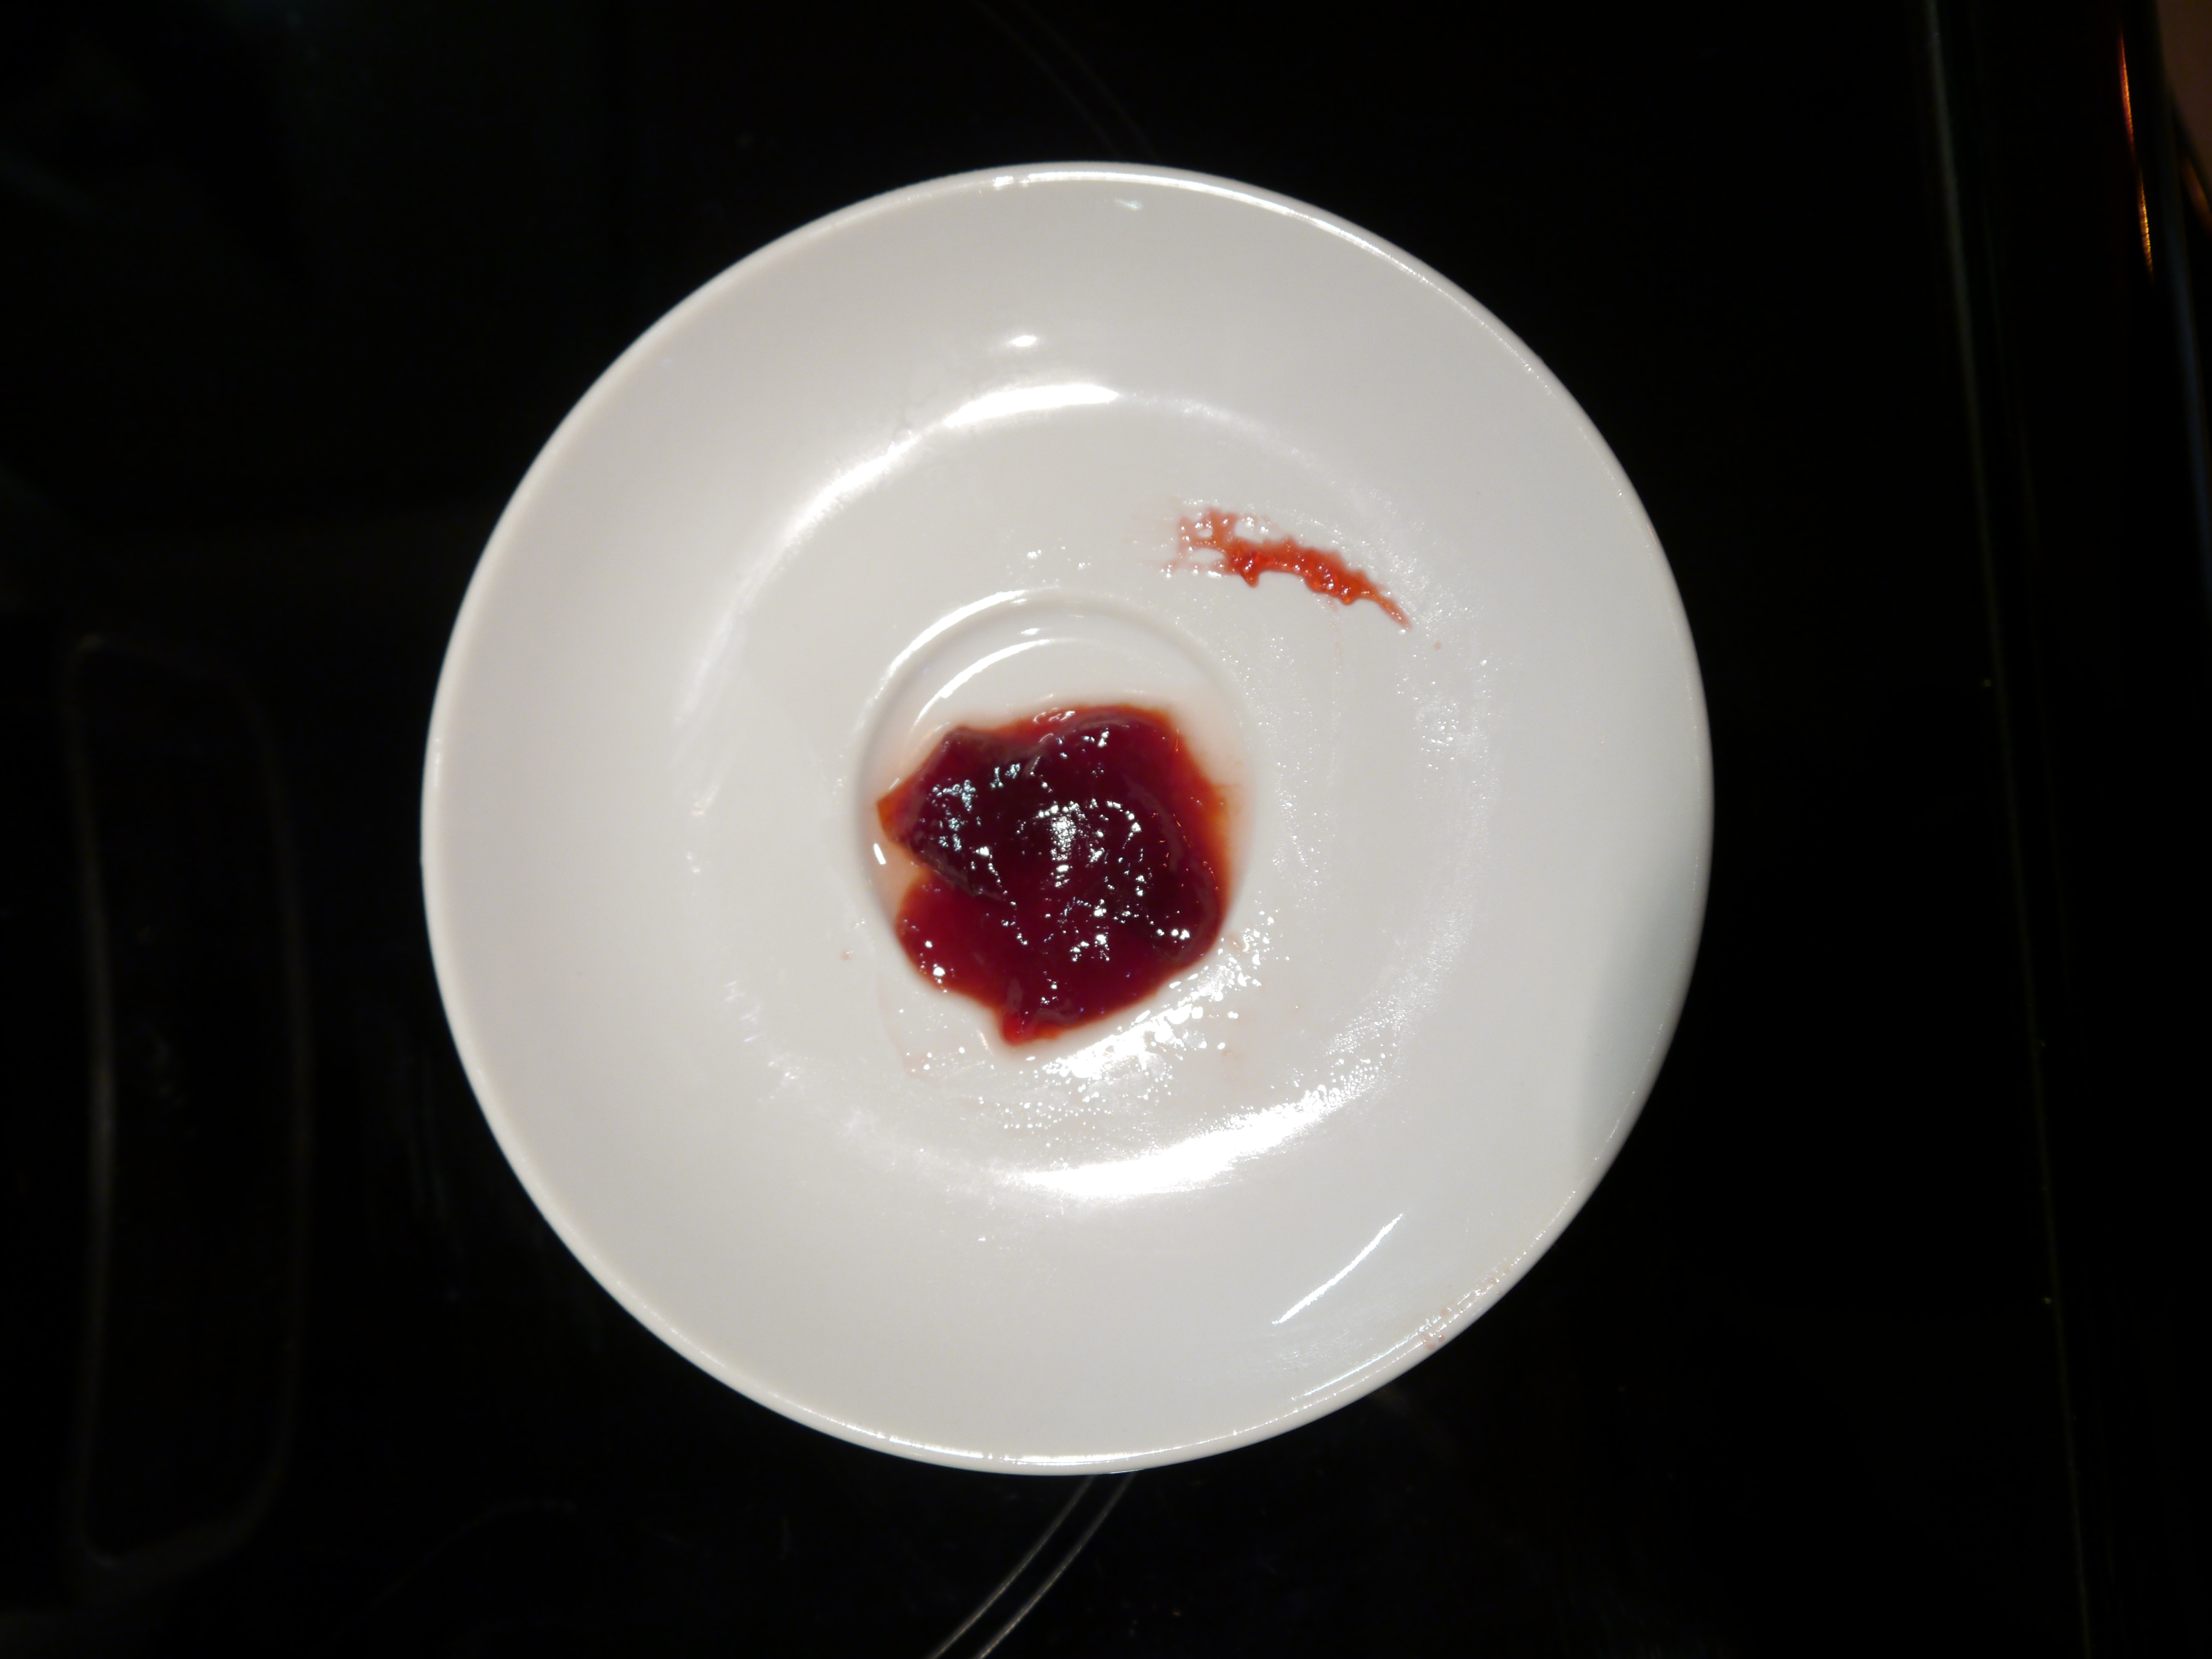
I prefer the freezer gel test. Remove pot from base of jam maker. Place a teaspoon of preserves on a small saucer and put it in the freezer for 1 minute. Remove from the freezer and push the edge of the preserves with your finger. Preserves that have reached the gel stage will be set, and the surface will wrinkle when the edge is pushed. Once gel stage is reached, it’s ready to transfer to jars, and be water bath canned or frozen.

- This is the plum mixture after 30 minutes of boiling and constant stirring by the jam maker


- The plum mixture after 60 minutes, I think it’s ready to add to jars!


- Testing for gel. Success!
Last year, I used the water bath canning method because I had a much larger batch. I find the freezer method easier for small batches, here’s my freezer method instructions.
Once you’ve achieved gel stage, use a wooden or plastic spoon to fill the jar size you’ve chosen and leave 1/2 inch head space. Apply the lids tightly and let preserves stand at room temperature for about 30 minutes. You’ll probably hear the lids “pop” which means they are sealing. Next, refrigerate the jars until they cool, and then transfer them to your freezer. I haven’t had any jars break yet using this method. Don’t forgot to label your jars! I like Ball Dissolvable Labels, they easily wash off in the dishwasher. I prefer to use eight ounce size jars or smaller. My favorite jar for preserves are the four-ounce, quilted crystal jelly jars. This size is perfect for gift giving!

The finished product, Ready to water bath can, freeze, or eat immediately!
Stove Top Instructions
Transfer crushed plums into a wide bottom stainless steel or enameled cast iron pot. It’s important to use a non-reactive pot, Canning 101 explains why in this post. Add the sugar, butter, and pectin, if you’ve decide to use it. Bring the fruit to a boil over medium heat, stirring to dissolve sugar. Increase to high heat and boil hard, stirring constantly until the mixture thickens. Remove from heat, and test for gel stage.
I found the gel stage is usually met after an hour of boiling. If your preserves haven’t reached gel stage after an hour, boil another 10 minutes, and check again. Repeat this process until the preserves gel. Once you’ve achieved gel stage, use a wooden or plastic spoon to fill the jar size you’ve chosen, and leave 1/2 inch head space. Preserve using either the water bath or freezer method.
